Testing Environments
Important Wiki Pages
Hardware
For testing purposes hardware compatibility is a particularly important concern if you have an older or custom-built system. Because hardware specifications change almost daily, it is recommended that systems should be checked for compatibility. The most recent list of supported hardware can be found in the Red Hat Hardware Compatibility List, available online at https://access.redhat.com/ecosystem/search/#/category/Server. Also see Red Hat Enterprise Linux technology capabilities and limits for general information about system requirements.
As a general rule just about any hardware will suffice as a Standalone test machines or as a host for a virtual environment.
VM Setups
VirtualBox
Microsoft Windows
MacOS
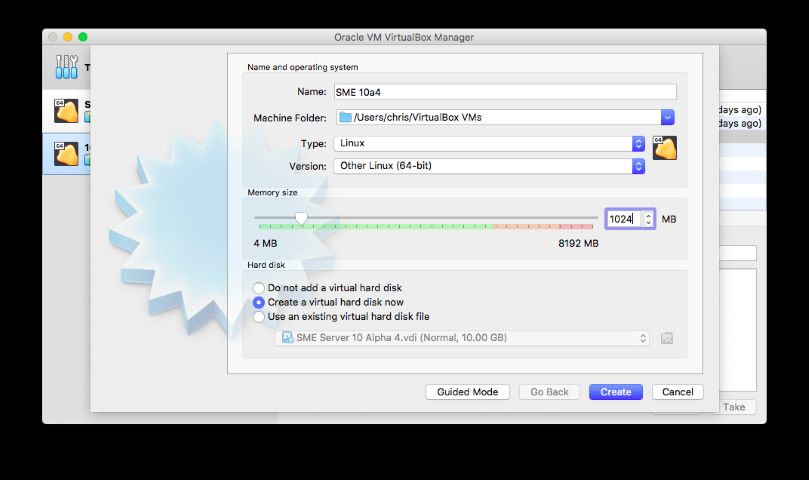
Create a new Virtual Machine, choose 'Linux' as the type, 'Other Linux (64-bit)' as the version and set the memory to at least 1GB, ideally 2GB+ as ClamAV on its own needs ~1GB.
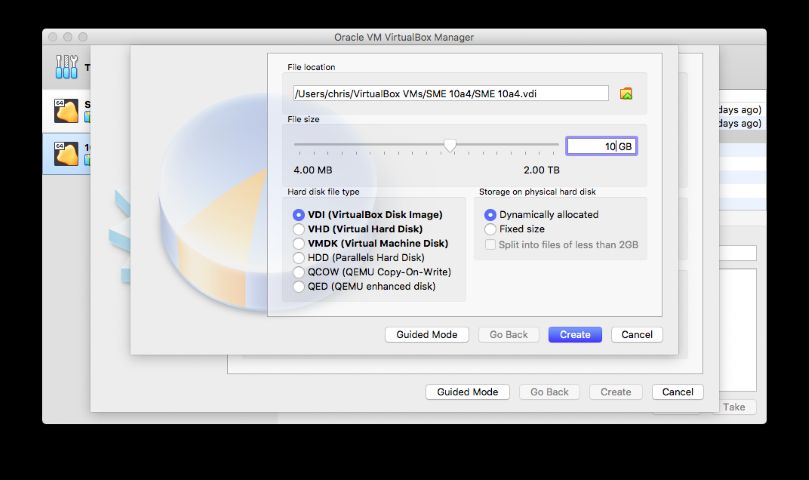
Set your new drive to at least 10GB, leave it as VDI, Dynamically Allocated
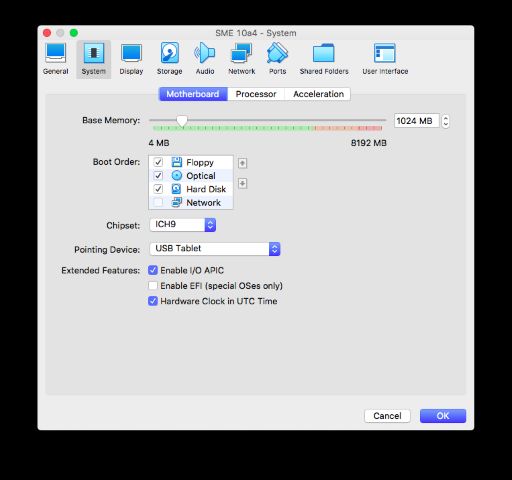
Once the machine's created, go into Settings -> System. Change the Chipset type to ICH9
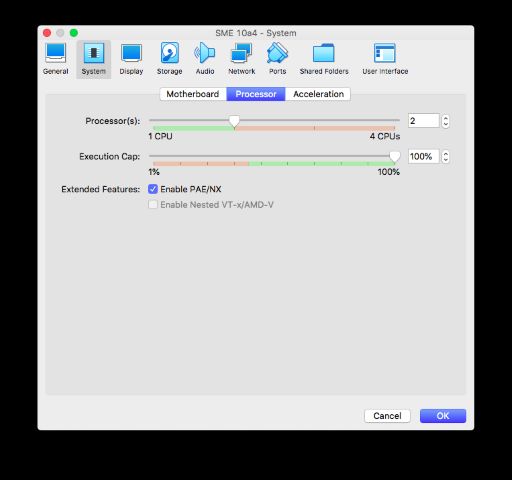
Under System -> Processor, bump it up to 2 CPUs if your machine supports it
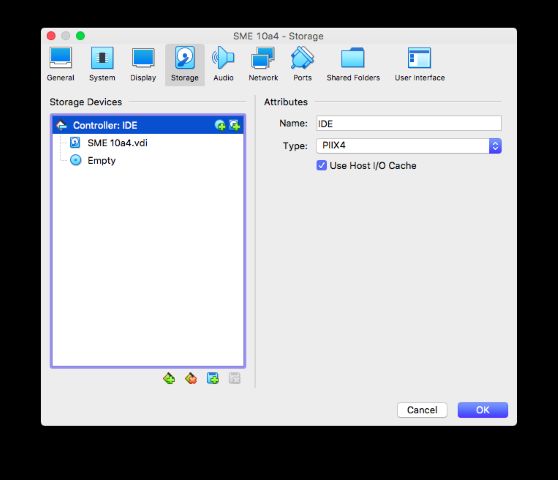
By default, under storage you'll have an IDE controller. Hit the X at the bottom to remove it
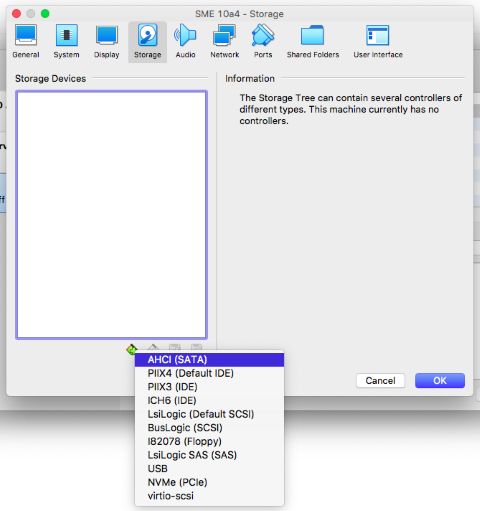
Add an AHCI controller in its place
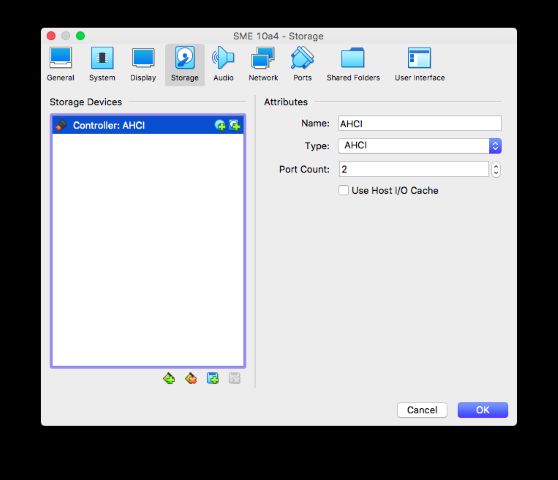
Set the port count to 2, then hit the + disk icon on the controller
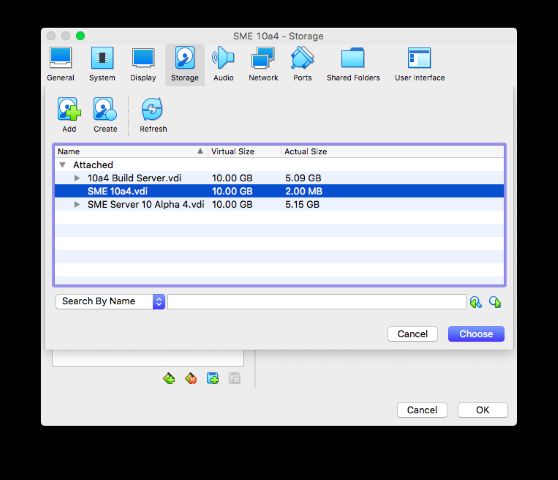
Choose the VDI created in the machine setup
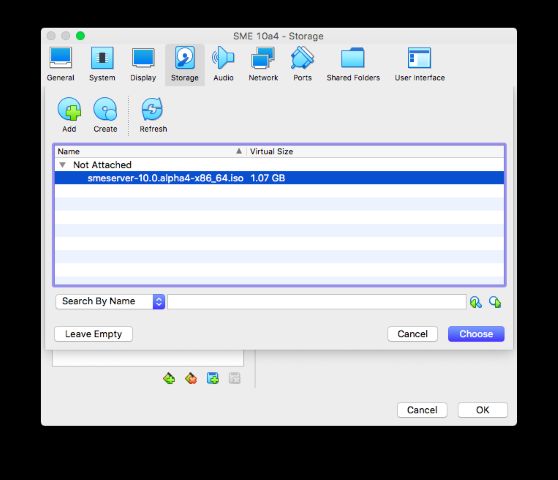
Do the same with the CD icon. Choose the SME ISO if you've already added it to Virtual Media Manager. If it's not there then hit 'Add' and browse for the ISO
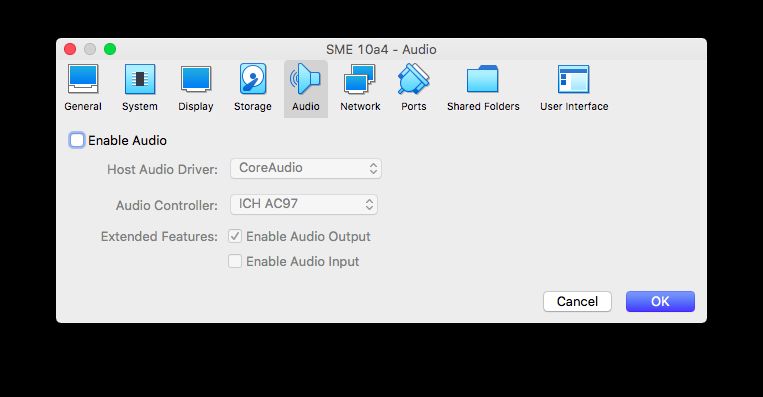
Disable audio. Not mandatory, but you're not going to need it
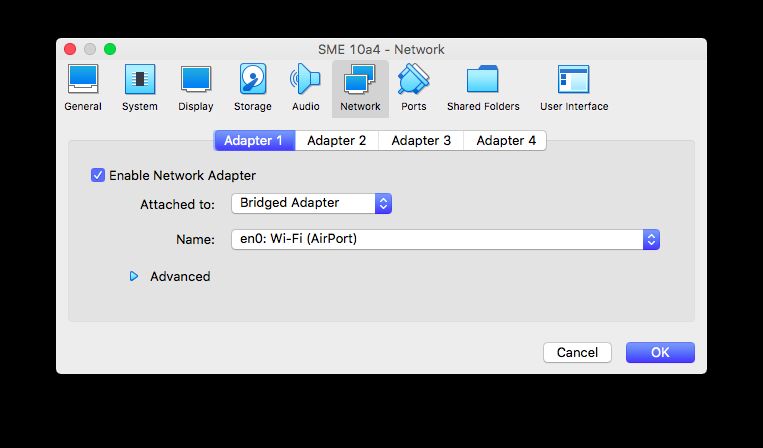
Choose a 'bridged' network adapter and make sure it's attached to your host's main network connection. This way your VM will becaues like a normal machine on your network and you can SSH to it
You're done - fire up the VM and the installer should start
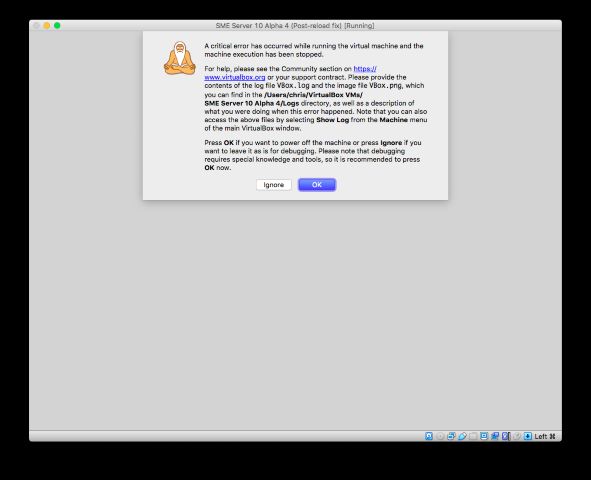
Note - when the machine reboots you may see a 'critical error' (unless it's just my Hackintosh being weird). This is fine - just hit Ok and start it up again
Linux
Proxmox
Proxmox VE is a complete open-source platform for all-inclusive enterprise virtualization that tightly integrates KVM hypervisor and LXC containers, software-defined storage and networking functionality on a single platform, and easily manages high availability clusters and disaster recovery tools with the built-in web management interface.
Install/configure Koozali SME9/10 VM on proxmox VE
