User:Mike
Write Amplification
This manual describes how to setup an SME Server with 2 Solid State Drives (SSD’s) in a RAID1 setup with Over Provisioning to prevent Write Amplification. SSD’s are much faster than conventional hard disks and they last longer if you threat them right. An SSD is vulnerable to Write Amplification which means it writes and erases certain memory blocks more than others and therefor the most used memory blocks reach the maximum amount of writes it can do much faster. This is because it uses the free space of the SSD to move data around which means that the Write Amplification and therefor the performance and the lifecycle of the SSD decrease drastically if the SSD just has a few % of empty space left. 2 ways to prevent Write Amplification are Over Provisioning and Trimming (Garbage collection). Unfortunately Trimming is still unsupported on Software RAID like used in the SME Server which leaves us with Over Provisioning. Also SSD’s in RAID5 is discouraged as it also vastly increases Write Amplification. Because this is a manual on how to setup an SME Server with 2 SSD’s in a RAID1 setup with Over Provisioning to prevent Write Amplification, and not on What Write Amplification is exactly, I will not go into that any further. For more information on that, this is a good place to start: http://en.wikipedia.org/wiki/Write_amplification
Over Provisioning
Over Provisioning is a fancy term for partitioning xx% less than the full capacity of the disk. There is not a right amount of Over Provisioning but 10% is usually an average used setting which means you only use 90% of the disk size to partition. Because the default RAID1 installation of the SME Server is not made with SSD’s in mind, it uses 100% of the 2 disks capacity which means we have to manually partition the 2 disks.| This manual shows you how to do that and it is made using the SME Server 9.0 as an example.
Setup an SME Server with 2 SSD’s in a RAID1 setup with Over Provisioning
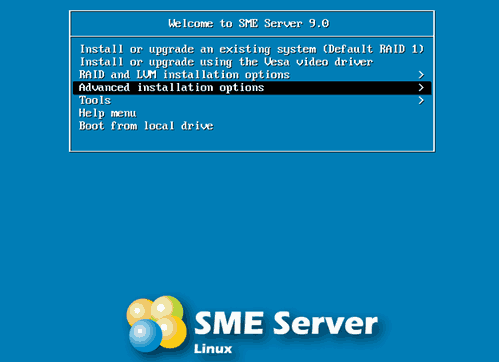
In the Boot Menu select Advanced installation options.
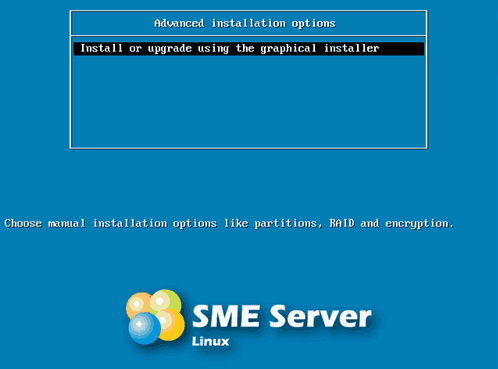
Select Install or upgrade using the graphical installer.

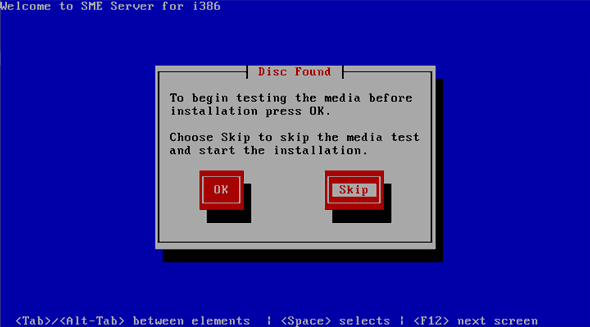
Skip the media check unless you have a reason not to.

