Difference between revisions of "SME Server:Documentation:Administration Manual:Chapter6"
| (4 intermediate revisions by the same user not shown) | |||
| Line 1: | Line 1: | ||
<noinclude>{{Languages}}</noinclude> | <noinclude>{{Languages}}</noinclude> | ||
===The Server Console=== | ===The Server Console=== | ||
| − | When installing a new server or wanting to reconfigure an existing one, from the login prompt | + | When installing a new server or wanting to reconfigure an existing one, from the login prompt enter the username "admin" using the "root" password, the opening screen of the SME Server server console will appear: |
| − | [[Image: | + | [[Image:Installreboot-16.jpg|center|850px]] |
{{Tip box|If logged in as root, at the command prompt enter the command "console", you will see the server console screen above.}} | {{Tip box|If logged in as root, at the command prompt enter the command "console", you will see the server console screen above.}} | ||
| Line 14: | Line 14: | ||
Provides you with uptime information about your server. | Provides you with uptime information about your server. | ||
| − | [[Image: | + | [[Image:Console-status.png|center|850px]] |
====Option 2: Configure this server==== | ====Option 2: Configure this server==== | ||
Allows you to view and modify the configuration information you entered during the original installation (ethernet cards, IP address information, DHCP, DNS, domain names, etc.). | Allows you to view and modify the configuration information you entered during the original installation (ethernet cards, IP address information, DHCP, DNS, domain names, etc.). | ||
| − | [[Image:Console-config.png]] | + | [[Image:Console-config.png|center|850px]] |
==== Option 3: Test internet access ==== | ==== Option 3: Test internet access ==== | ||
Allows you to test your Internet access. | Allows you to test your Internet access. | ||
| − | [[Image:034.png]] | + | [[Image:034.png|center|850px]] |
==== Option 4: Reboot, shutdown or reconfigure you server==== | ==== Option 4: Reboot, shutdown or reconfigure you server==== | ||
Allows you to smoothly reboot, reconfigure or shut down your server. | Allows you to smoothly reboot, reconfigure or shut down your server. | ||
| − | [[Image:035.png]] | + | [[Image:035.png|center|850px]] |
==== Option 5: Manage disk redundancy==== | ==== Option 5: Manage disk redundancy==== | ||
| Line 36: | Line 36: | ||
For more information see the [[:Raid]] howto | For more information see the [[:Raid]] howto | ||
| − | [[Image:036.png]] | + | [[Image:036.png|center|850px]] |
==== Option 6: Access server manager==== | ==== Option 6: Access server manager==== | ||
Provides you with a means to access the web-based server manager using a text-based browser. This is the same interface to which you can connect from another system using a normal graphical browser. This option merely allows you to perform these functions directly from the server console. | Provides you with a means to access the web-based server manager using a text-based browser. This is the same interface to which you can connect from another system using a normal graphical browser. This option merely allows you to perform these functions directly from the server console. | ||
| − | [[Image:Console-text-browser.png]] | + | [[Image:Console-text-browser.png|center|850px]] |
=====Using the Text-based Browser===== | =====Using the Text-based Browser===== | ||
| Line 58: | Line 58: | ||
Displays the GNU General Public License (the license governing the distribution and use of SME Server software) and information on how to contact Contribs.org for support. | Displays the GNU General Public License (the license governing the distribution and use of SME Server software) and information on how to contact Contribs.org for support. | ||
| − | [[Image:Console-license.png]] | + | [[Image:Console-license.png|center|850px]] |
==== Option 8: Perform backup to USB device ==== | ==== Option 8: Perform backup to USB device ==== | ||
| Line 72: | Line 72: | ||
To restore this type of USB Backup, perform a clean install and when prompted if you wish to restore attach the USB Drive. | To restore this type of USB Backup, perform a clean install and when prompted if you wish to restore attach the USB Drive. | ||
| − | {{Warning box|If the USB Drive is left attached during the install it will be formatted !!}} | + | {{Warning box|If the USB Drive is left attached during the install it will be formatted!!}} |
| − | + | {{Note box| see note on formatting the USB drive: https://wiki.koozali.org/SME_Server:Documentation:Administration_Manual:Chapter5#Upgrade_from_9.x_to_10.x}} | |
| − | {{Note box|The console backup to USB device is an independent method not related to the server-manager backup options. [[:SME_Server:Documentation:Administration_Manual:Chapter10]]}} | + | [[Image:Console-backup.png|center|850px]] |
| + | |||
| + | {{Note box|The console backup to USB device is an independent method not related to the server-manager backup options. | ||
| + | |||
| + | |||
| + | |||
| + | [[:SME_Server:Documentation:Administration_Manual:Chapter10]]}} | ||
Latest revision as of 16:31, 25 June 2021
The Server Console
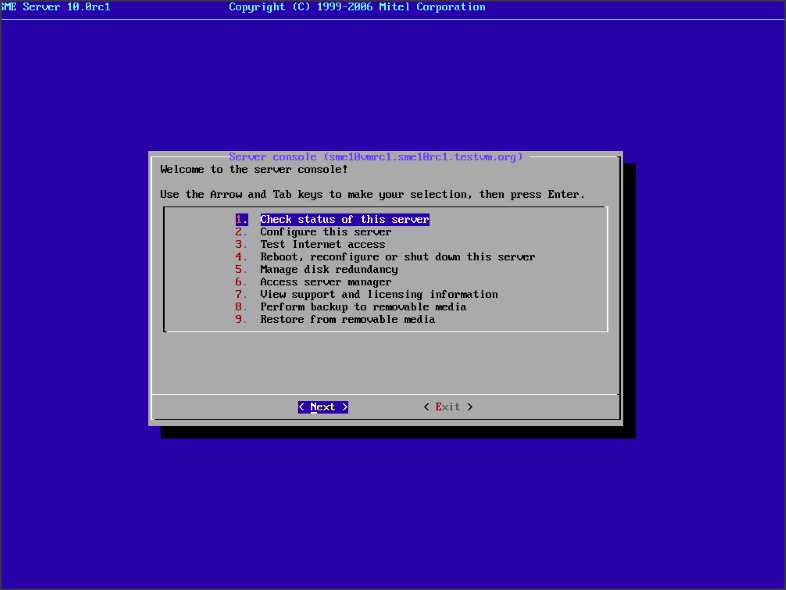
When installing a new server or wanting to reconfigure an existing one, from the login prompt enter the username "admin" using the "root" password, the opening screen of the SME Server server console will appear:
The server console provides you with basic, direct access to your server. From the server console you can get the following information and perform the following tasks:
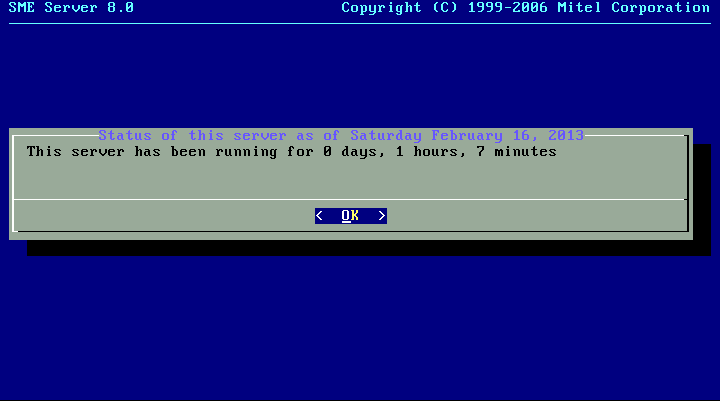
Option 1: Check status of this server
Provides you with uptime information about your server.
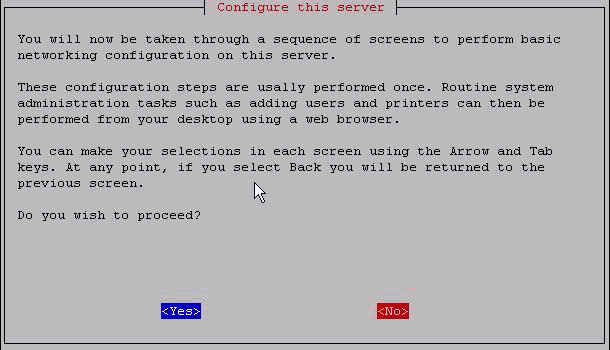
Option 2: Configure this server
Allows you to view and modify the configuration information you entered during the original installation (ethernet cards, IP address information, DHCP, DNS, domain names, etc.).
Option 3: Test internet access
Allows you to test your Internet access.
Option 4: Reboot, shutdown or reconfigure you server
Allows you to smoothly reboot, reconfigure or shut down your server.
Option 5: Manage disk redundancy
Allows you to manage and view the current RAID status.
For more information see the Raid howto
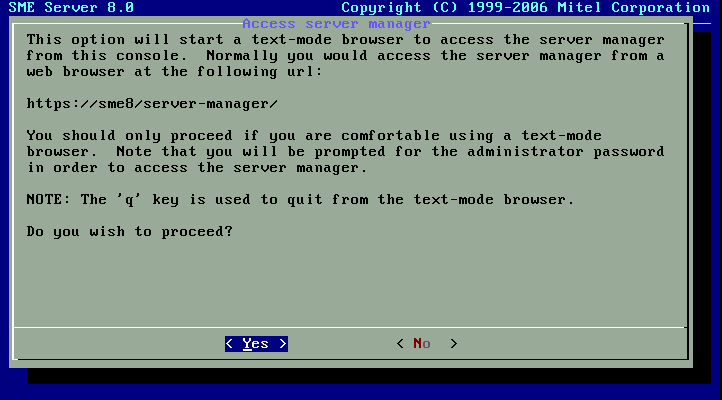
Option 6: Access server manager
Provides you with a means to access the web-based server manager using a text-based browser. This is the same interface to which you can connect from another system using a normal graphical browser. This option merely allows you to perform these functions directly from the server console.
Using the Text-based Browser
For Option 4, Access server manager with text-mode browser, the server uses a text-based browser called lynx to allow you to access the web-based server manager from the server console. Navigation is primarily with the arrow keys - up and down to move through the page, right arrow to follow a link, left arrow to go back. Lynx has a wide range of other commands which you can learn about through the online help available at http://lynx.browser.org/ Note that for security reasons some regular features of lynx are disabled when you are browsing from the server console (such as the ability to specify an external URL). Type 'q' (for 'quit') to exit the text-based browser.
Accessing the Linux Root Prompt
If you are an expert user and would like to do advanced modifications to the configuration of your server, you can access the Linux operating system underlying the SME Server software by logging in as the user "root". If your server is displaying the server console and not a login prompt, you can press Alt-F2 to switch to another screen with a login prompt. To switch back, press Alt-F1. You should always ensure that you log out from the root account when you are finished and before you switch back to the server console.
The password for the "root" user is whatever password is currently set for the administrator of the server. Note that this is the same password as that used by the "admin" user account.
Be aware that this ability to switch between the server console and a login prompt is only available when you have physical access to the server. If you connect in remotely as the "admin" user and see the server console, you will not be able to switch to a login prompt in that window. (You can, however, open up another remote connection to your server and login as the "root" user.) Note that remote administrative access is disabled by default and must be specifically enabled through the Remote Access panel of the server manager.
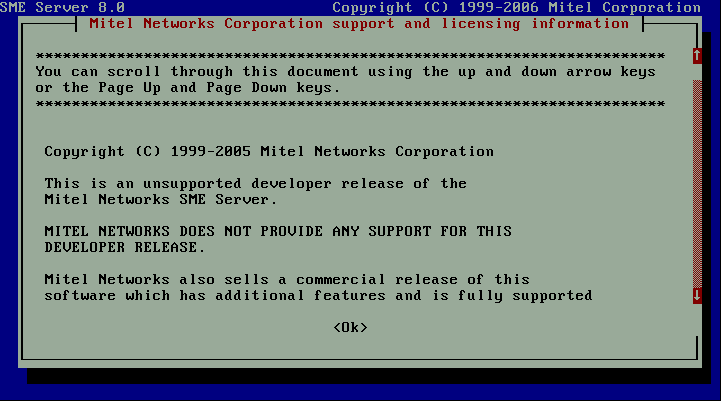
Option 7: View support and licensing information
Displays the GNU General Public License (the license governing the distribution and use of SME Server software) and information on how to contact Contribs.org for support.
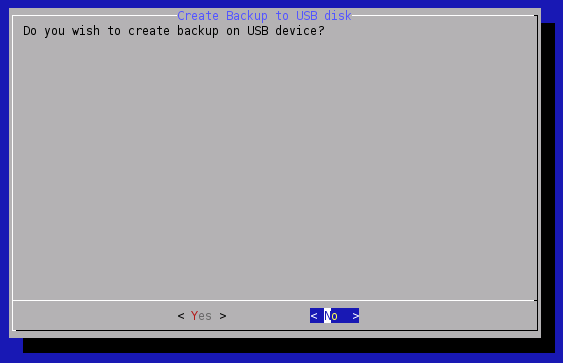
Option 8: Perform backup to USB device
Attach a USB Device and follow the prompts.
The compression level of the backup *.tgz file can be altered by the "db configuration setprop backupconsole CompressionLevel=value" this then will decrease or increase the time taken to create the backup.
To regulate the speed of compression using the specified digit n, where `-1' indicates the fastest compression method (less compression) and or `-9' indicates the slowest compression method (optimal compression). The default compression level is `-6' (that is, biased towards high compression at expense of speed).
Setting level of compression via custom db setting
db configuration setprop backupconsole CompressionLevel=-9
To restore this type of USB Backup, perform a clean install and when prompted if you wish to restore attach the USB Drive.
